So, you’ve installed your WordPress website and got your site up and running, chosen a theme to suit the brand you’ve created for your look and are now going to start Using the WordPress block editor to start building your website pages.
This post is written to try give you a good understanding of using the WordPress block editor (or WP content editor)… previously known as the Gutenberg Editor, the name give to the editor when it first started out as a plugin. The Gutenberg Editor plugin was later merged into WordPress core when WP version 5.0 was released on December 6, 2018.
The Editor & Plugins
Note that plugins and themes can add on any sidebars or extra panels with custom settings to enhance or extend the functionality of the WordPress block editor.
Here we’ll give you a basic explanation of all the options that come with the editor before adding on and extending it with any plugins.
Some WordPress plugins to improve and extend the functionality of the WordPress editor:
- Blockons – This will add a lot of extra blocks that are very useful for building your website pages.
- Rank Math – Helps to improve your writing to optimize the post or page for Google or other site engines to index the page and rank it better. Also offers a very powerful Premium version.
- We’ll add more suggestions soon…
Gutenberg Plugin editor
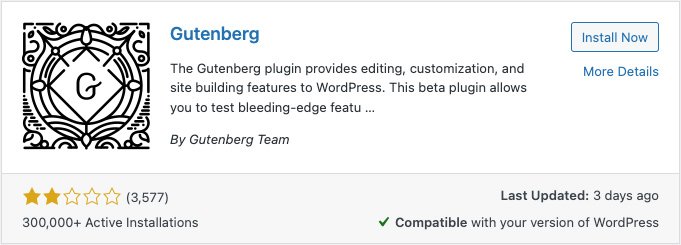
You can still install the Gutenberg plugin to keep up to date with the latest improvements and changes as they are made, before they are added into WordPress core… It’s advised that you do not install this on a live site.
The Gutenberg block editor is now used to allow the community to test the latest features and improvements before they are approved and added to the WordPress core.
Classic WordPress Editor
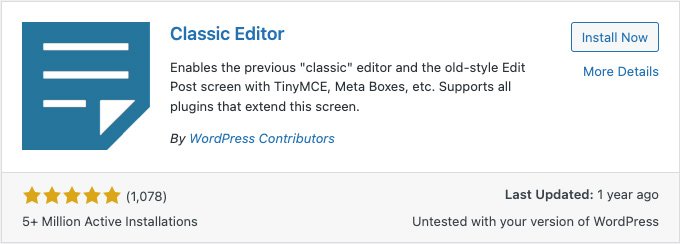
You can also install the old Classic editor if you prefer the old way of using only the WYSIWYG editor that WordPress used as the main content area before WP version 5.0… It is old now and will only be supported until 2022 so we suggest not using this as all newer plugins might not work with this classic editor.
We suggest you try using the WordPress block editor and get familiar with the new version, because it is here to stay, it’s only getting better and better and will become an amazing full site editing editor.
WordPress Block Editor
Lets take a look at using the WordPress Block Editor… The layout, where to find panels, blocks, and all the different settings that are available, and what they do:
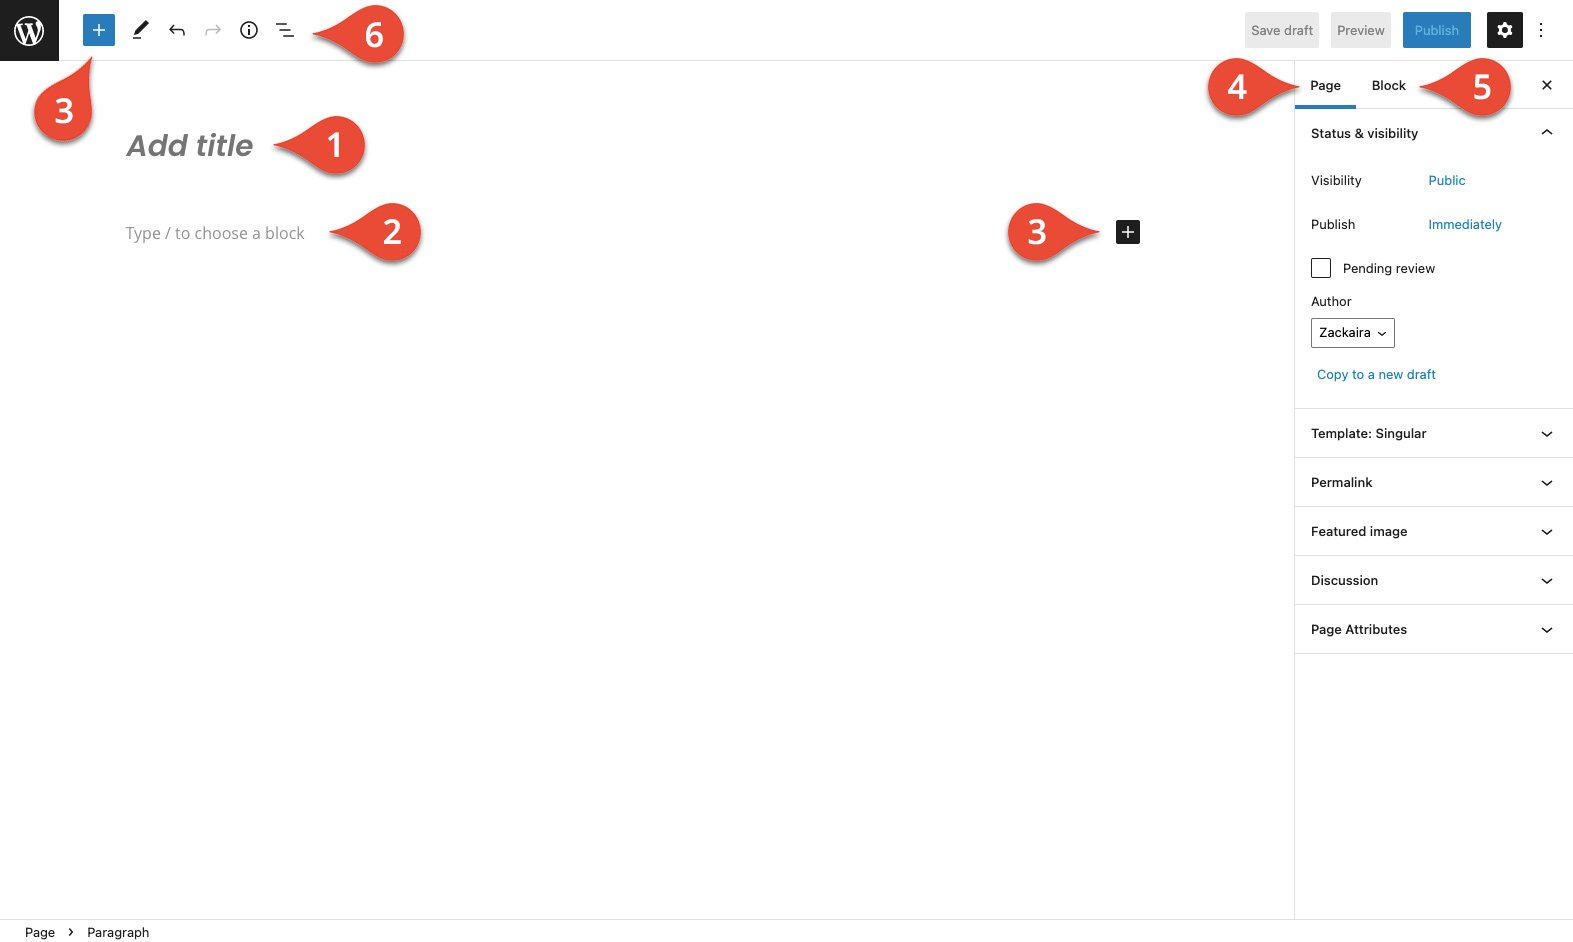
- The page or post title block – This is the primary heading or the page title for the post or page that you are editing.
- Block Area / Content Area – This is where you will build the content area for your page by adding all the blocks you require, this includes columns, spacers, lines and any other content type blocks you want.
- Add Block Button – Throughout building your page, you will see this little ‘plus sign’ block popup wherever you can add a block of your choice, when you click this button you will see that you can search for the block you want and click to add the block to the page area you have selected.
- Document / Page Settings Tab – This is where you will edit all elements for the page or post that you are on… This includes adding a featured image, excerpt, selecting categories and tags and choosing page templates and more.
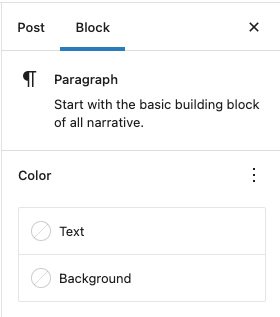
- Block Settings Tab – Once you have added a block of your choice, when you select the block, you will see all the block settings display in this tab. You need to select a block to view the settings.
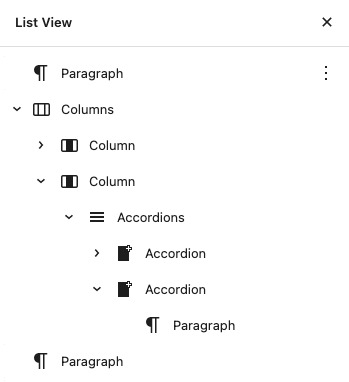
- Blocks List View – This is a list view of all the blocks that have been added to the content area. This list view is very useful and makes it easy to select blocks that are sometimes hard to select by clicking within the editor.
What are blocks and how do they work?
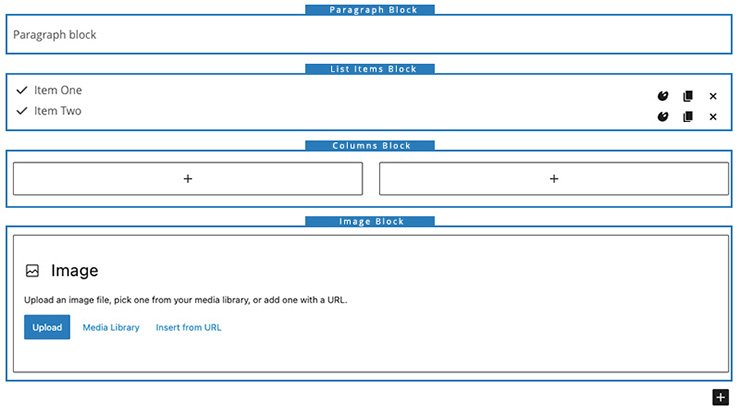
Think building blocks… Blocks are customizable elements that are used to build your page content, they can be a paragraph, an image gallery, a slider or carousel… A block can be anything really.
Blocks can be moved around, edited to look the way you need them to, customized individually or grouped, and there are already a lot of blocks out there for all the different layouts you need. You can search the WordPress directory for any type of block you want to add to your website.
Adding blocks to the page:
Within the content area of the post or page that you are editing, by default it will automatically add a paragraph block, and on the far right of the block you will see a small ‘plus icon’ like this ->

Click the plus icon and you will see a popup with the most recently used blocks. You can search for blocks or select from the recently used blocks shown there.
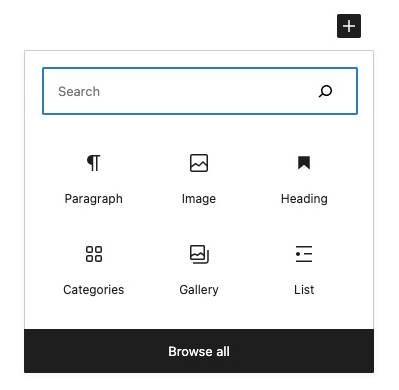
There is also an option to “Browse All”, which will open the left sidebar when clicked, and there you can browse through all the blocks available on your site… If you are needing other blocks then try searching the WP directory to find and install the blocks you need.
Editing blocks settings:
To edit a blocks settings when using the WordPress block editor, you simply need to select the block you want to edit, and you will then see all the block settings available to edit in the right sidebar on your page.
If you do not see the right sidebar on the page then click the cog icon in the top right corner.

Block Options:
All blocks also offer a list of options… When a block is selected, you will see a menu display right on top of the block… This menu gives you basic options to move the block up / down, or drag it to a new position, as well as styling options such as alignment, making text bold or adding links etc.
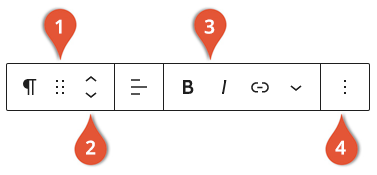
Some of the options:
- Drag the block to a different position on the page.
- Move the block up or down from its current position.
- Alignment & Styling options
- More Options
The more options button offers a further drop down when you click on the 3 dots to expand more options

Some of the other main options added here that you will use are:
- Copy – Copy the block as it is to paste it somewhere else.
- Duplicate – Create a copy of the selected block and all the settings that have been adjusted.
- Lock – Lock the block to that it cannot be moved or removed.
- Add to Reusable Blocks – This turns the block into a global block, so it can be used all around the website, and if the block is then edited, the changes will reflect across the entire website. This is useful for site buttons etc.
- Group – Blocks can be grouped together to function as a single block. You can hold down shift and then select multiple blocks, then click to group them together and they will become 1 block. You can just as easy un-group the blocks to change them back into individual blocks.
- Remove Block – Delete the block from the page.
Selecting the different Blocks:
When using the WordPress block editor, if you have blocks within blocks within columns etc… You might find it harder to select an exact block that you want to edit the settings of.
For this we suggest using the block List View sidebar.
To select and open the List View sidebar, you can click the list icon at the top left of the page:

Once you click the list icon, you will see the left sidebar open and it will display a collapsible list view of all the blocks that have been added to the page, and you can now easily find the block that you’re wanting to edit and then select it.
Then separate from editing blocks or the items in the content area, you can also edit the…
WordPress Editor Options
At the very top-right of the screen, in the same line as the Update/Publish post button, you will see 3 little dots… This will display a drop down of options that you can apply to using the WordPress block editor itself.
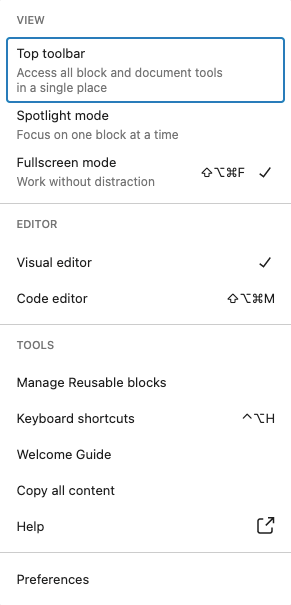
Most of these options are self explanatory or have little hints on what exactly they do… but here’s a list explaining what some of the main ones are:
- Top Toolbar – This will place the blocks toolbar at the top of the page so that it does not appear on each block as they are selected… We suggest keeping this turned off so the toolbar is attached to each block.
- Spotlight Mode – This is to place a more visible focus on the block you are currently editing, it will make all other blocks that are not selected seem less visible while editing.
- Fullscreen Mode – This is turned on by default, if you prefer the normal WordPress sidebar on the left of the page then turn this off. Fullscreen mode lets you focus more on the content you’re busy editing.
- Manage Reusable Blocks – Manage all the blocks that you have turned into reusable blocks and placed around the site.
- Keyboard Shortcuts – View this modal popup to learn all the shortcuts available, to speed up your workflow when using the WordPress block editor.
- Preferences – Here you can edit all General preferences and options related to publishing content, further customize how you interact with blocks in the block library and editing areas, and choose what displays in the editor panels and more.
Conclusion:
Since WordPress 5.0, the editor and other WP features have taken on some huge changes… Some adapted very well, but some were not enjoyed at all, at first… But with using the WordPress block editor more and more, it’s easy to see that the editor is only getting better after each update, and it will become a very powerful and easy-to-use editing experience for everyone.
The WordPress Gutenberg team are working hard to improve it feature by feature… to make using the WordPress block editor even better.