Using the Blockons WordPress plugin is super simple!
If you know how to use the default WordPress editor, which itself is pretty intuitive, and always getting better and better as it’s developed by the WordPress team.
We have a more comprehensive post on Using the WordPress editor here if you’d like to read more.
Adding a Blockons block to the post or page
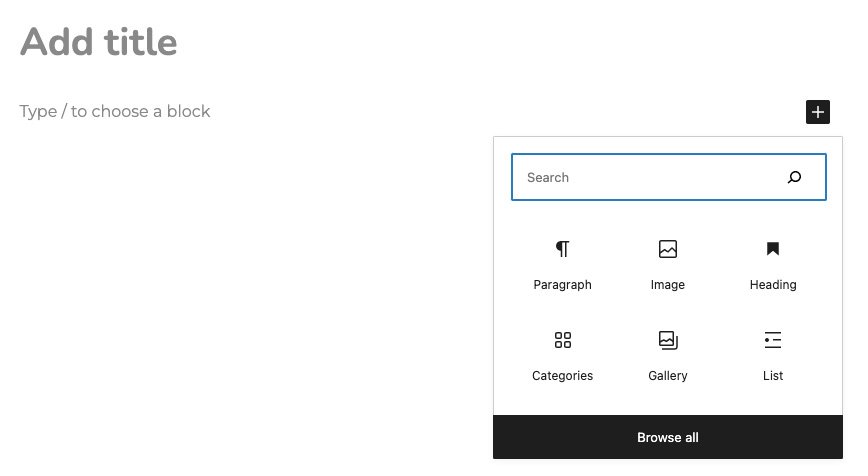
Adding the Blockons blocks to your pages or posts is the same as adding any block within WordPress. You’ll simply click the little ‘Add Block’ plus button, search for the block you want to add and click on the block.

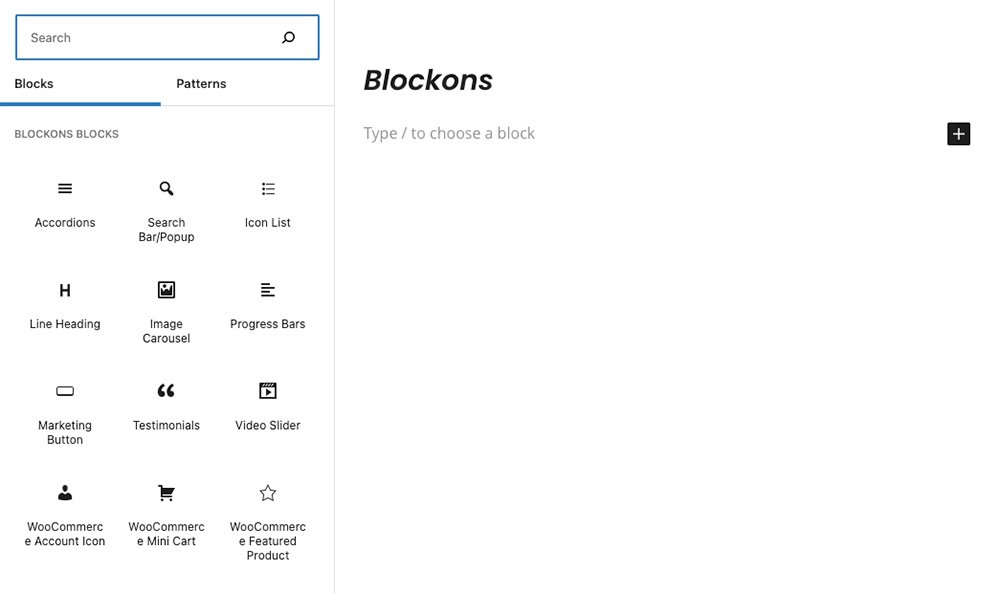
If you’re not sure which blocks the Blockons plugin offers, the when you click then ‘Add Block’ button, you can also click “Browse All” to open the editor blocks sidebar (this sidebar comes up on the left).
In the sidebar, you will be able to scroll through and see all of the blocks that you have available to use on your website.
Scroll down to find the “Blockons Blocks” section, and here you can select your desired editor block.

Select the block you’d like to add to the page and start editing the blocks settings to make it fit your brand and website.
Happy building !!
Editing the Blockons block settings
Editing the Blockons blocks is also super simple and very intuitive!
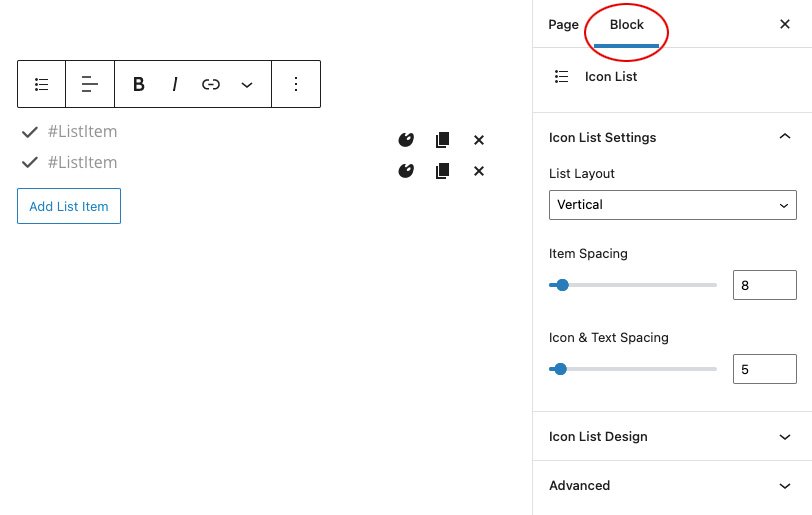
Once you’ve chosen a block to add to the page… To see the blocks settings, you need to have the block selected by clicking on it and then the right editor sidebar will open and you should be able to view all the settings available.
For example, we have added the Icon List block and selected it to view all the settings:

If the right sidebar does not display with the settings, then click the little cog icon in the top right corner to make it open.
All the settings for the currently selected block are displayed under the “Block” tab and are the further broken up into different panels for block Settings & block Design Settings.
Simply click to expand the panel and then change the settings as you please.
